A definitive guide for Setting up a Deep Learning Workstation with Ubuntu
Creating my own workstation has been a dream for me if nothing else. I knew the process involved, yet I somehow never got to it.
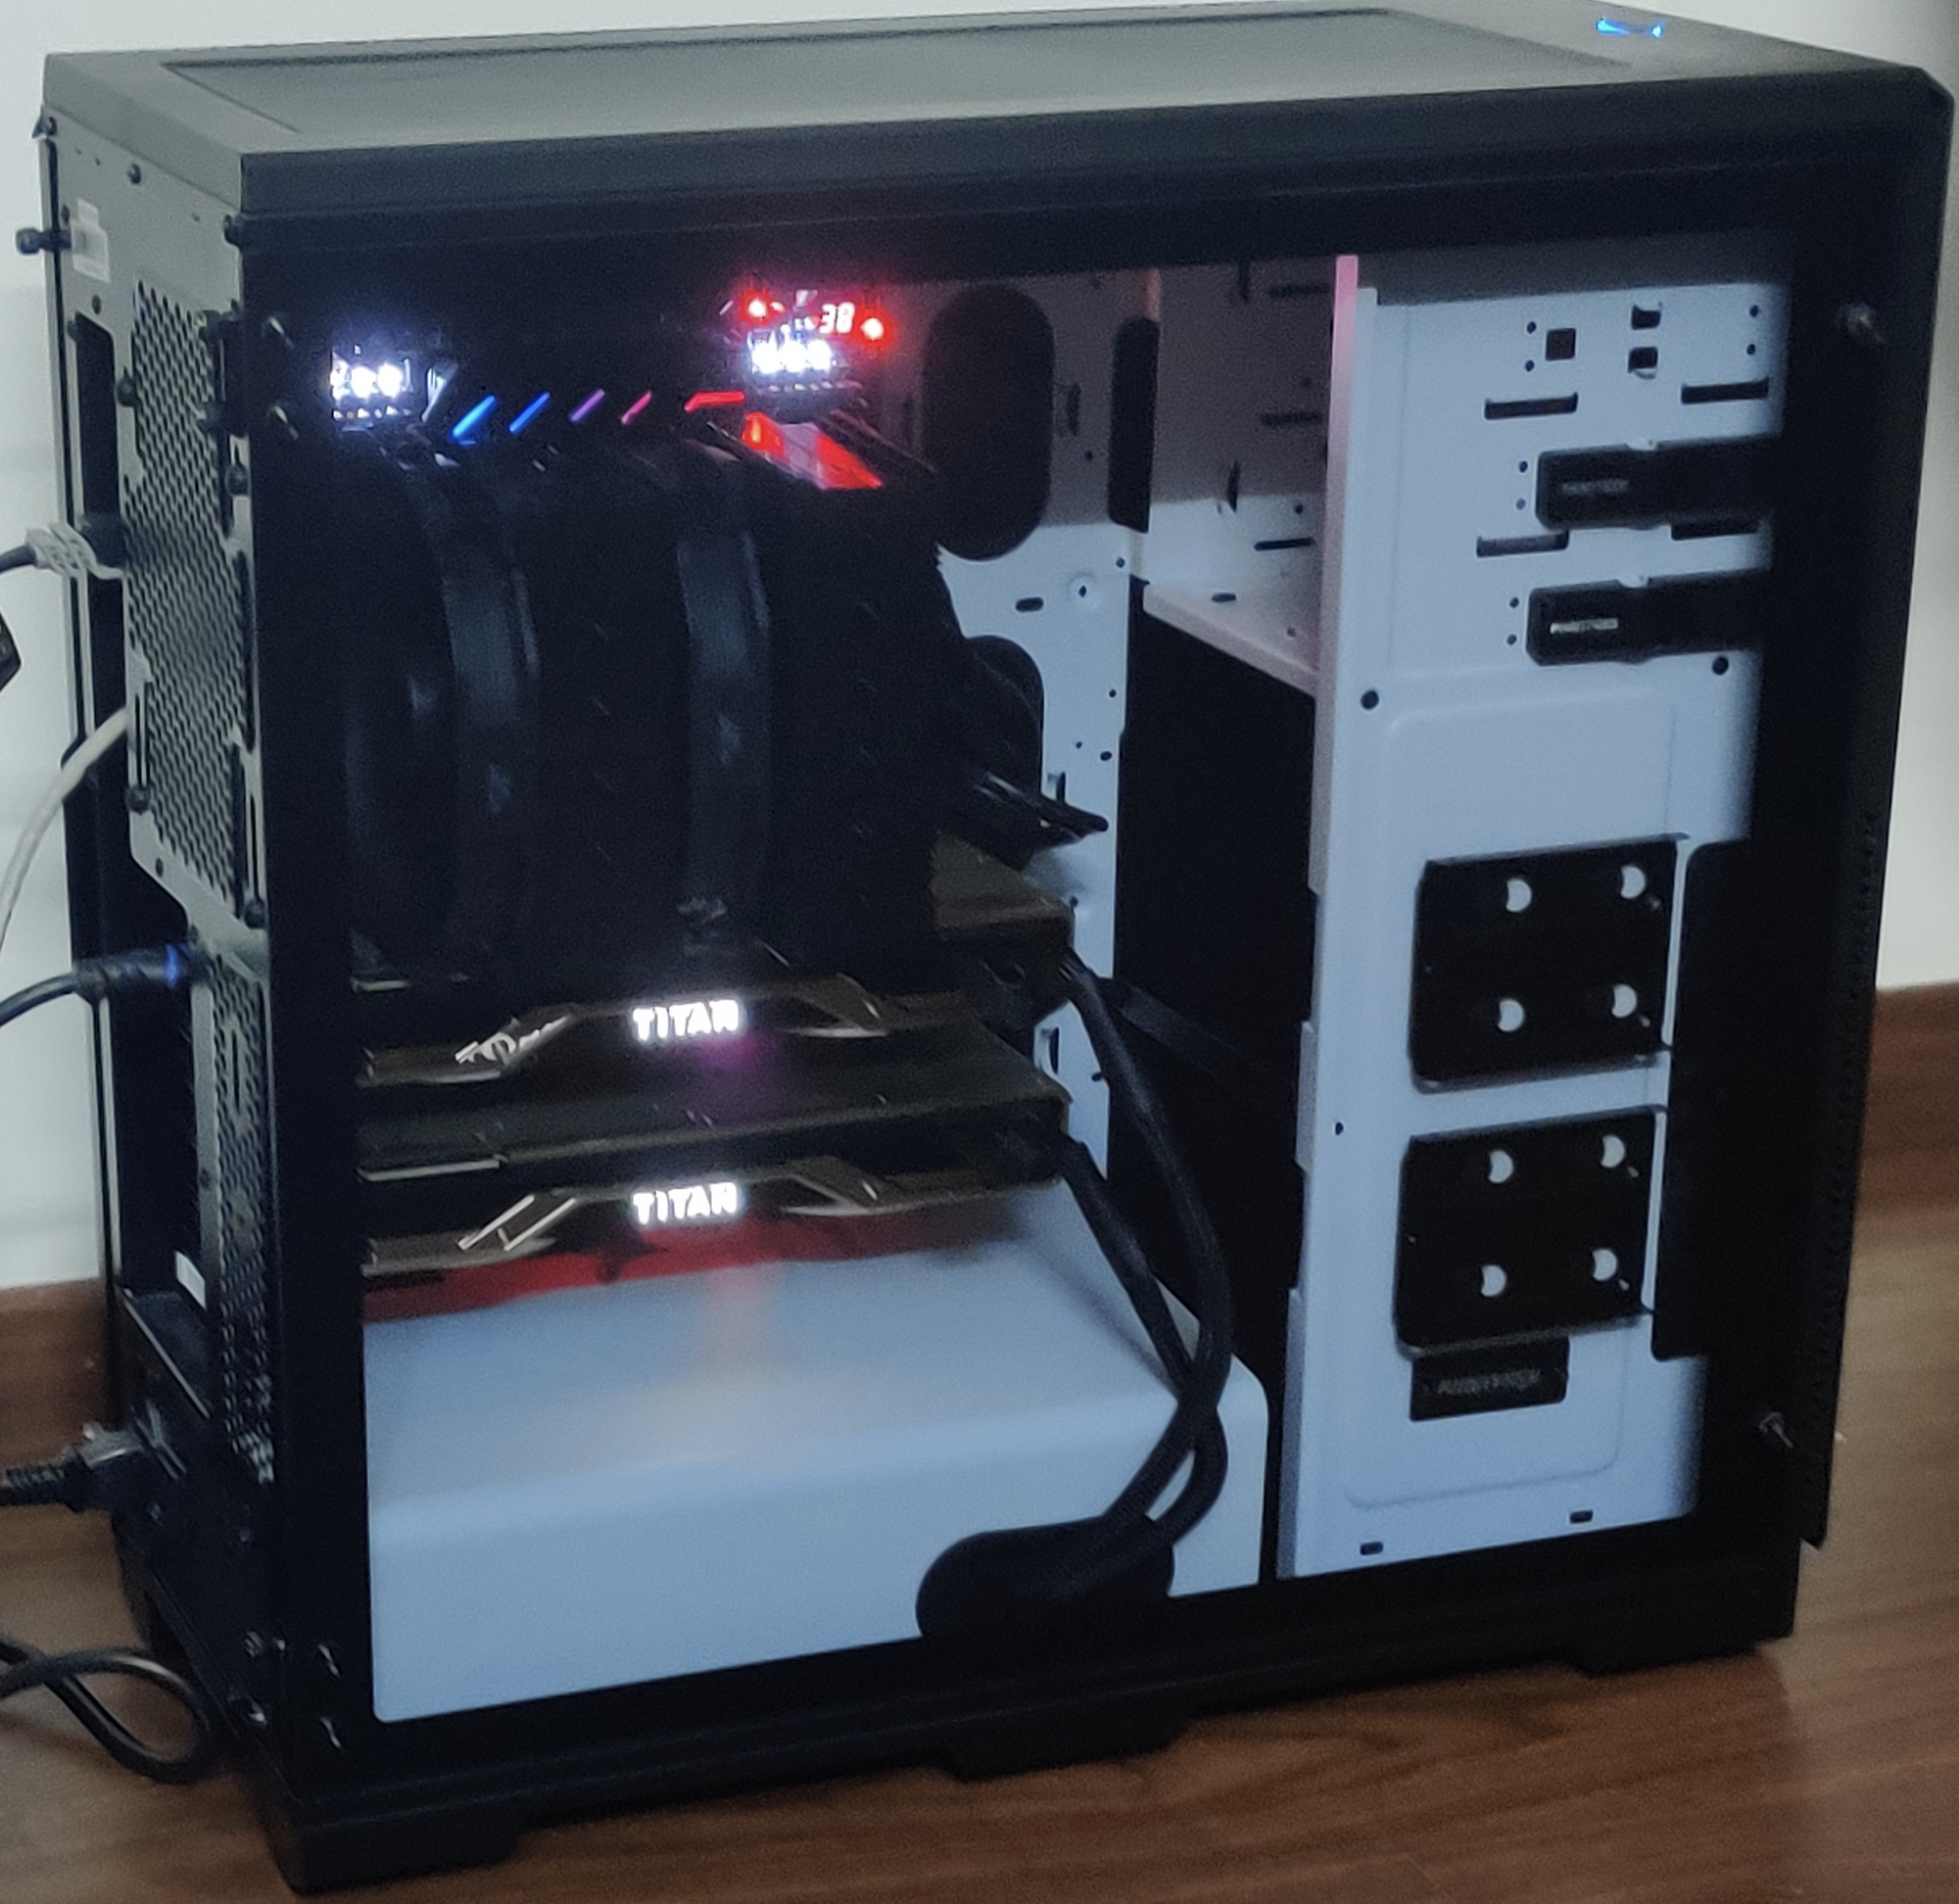
But this time I just had to do it. So, I found out some free time to create a Deep Learning Rig with a lot of assistance from NVIDIA folks who were pretty helpful. On that note special thanks to Josh Patterson and Michael Cooper.
Now, every time I create the whole deep learning setup from an installation viewpoint, I end up facing similar challenges. It’s like running around in circles with all these various dependencies and errors. This time also I had to try many things before the whole configuration came to life without errors.
So this time, I made it a point to document everything while installing all the requirements and their dependencies in my own system.
This post is about setting up your own Linux Ubuntu 18.04 system for deep learning with everything you might need.
If a pre-built deep learning system is preferred, I can recommend Exxact’s line of workstations and servers.
I assume that you have a fresh Ubuntu 18.04 installation. I am taking inspiration from Slav Ivanov’s excellent post in 2017 on creating a Deep Learning box. You can call it the 2020 version for the same post from a setup perspective, but a lot of the things have changed from then, and there are a lot of caveats with specific CUDA versions not supported by Tensorflow and Pytorch.
Starting up

Before we do anything with our installation, we need to update our Linux system to the latest packages. We can do this simply by using:
sudo apt-get update
sudo apt-get --assume-yes upgrade
sudo apt-get --assume-yes install tmux build-essential gcc g++ make binutils
sudo apt-get --assume-yes install software-properties-common
sudo apt-get --assume-yes install git
The Process
So now we have everything set up we want to install the following four things:
GPU Drivers: Why is your PC not supporting high graphic resolutions? Or how would your graphics cards talk to your python interfaces?
CUDA: A layer to provide access to the GPU’s instruction set and parallel computation units. In simple words, it allows us a way to write code for GPUs
CuDNN: a library that provides Primitives for Deep Learning Network
Pytorch, Tensorflow, and Rapids: higher-level APIs to code Deep Neural Networks
1. GPU Drivers
The first step is to add the latest NVIDIA drivers. You can choose the GPU product type, Linux 64 bit, and download Type as “Linux Long-Lived” for the 18.04 version.

Clicking on search will take you to a downloads page:

From where you can download the driver file NVIDIA-Linux-x86_64–440.44.run and run it using:
chmod +x NVIDIA-Linux-x86_64–440.44.run
sudo sh NVIDIA-Linux-x86_64–440.44.run
For you, the file may be named differently, depending on the latest version.
2. CUDA
We will now need to install the CUDA toolkit. Somehow the CUDA toolkit 10.2 is still not supported by Pytorch and Tensorflow, so we will go with CUDA Toolkit 10.1, which is supported by both.
Also, the commands on the product page for CUDA 10.1 didn’t work for me and the commands I ended up using are:
sudo apt-key adv --fetch-keys [http://developer.download.nvidia.com/compute/cuda/repos/ubuntu1804/x86_64/7fa2af80.pub](http://developer.download.nvidia.com/compute/cuda/repos/ubuntu1804/x86_64/7fa2af80.pub) && echo "deb [https://developer.download.nvidia.com/compute/cuda/repos/ubuntu1804/x86_64](https://developer.download.nvidia.com/compute/cuda/repos/ubuntu1804/x86_64) /" | sudo tee /etc/apt/sources.list.d/cuda.list

sudo apt-get update && sudo apt-get -o Dpkg::Options::="--force-overwrite" install cuda-10-1 cuda-drivers
The next step is to create the LD_LIBRARY_PATH and append to the PATH variable the path where CUDA got installed. Just run this below command on your terminal.
echo 'export PATH=/usr/local/cuda-10.1/bin${PATH:+:${PATH}}' >> ~/.bashrc && echo 'export LD_LIBRARY_PATH=/usr/local/cuda-10.1/lib64${LD_LIBRARY_PATH:+:${LD_LIBRARY_PATH}}' >> ~/.bashrc && source ~/.bashrc && sudo ldconfig
After this, one can check if CUDA is installed correctly by using:
nvcc --version

As you can see, the CUDA Version is 10.1 as we wanted. Also, check if you can use the command:
nvidia-smi
For me, it showed an error when I used it the first time, but a simple reboot solved the issue. And both my NVIDIA graphic cards show up in all their awesome glory. Don’t worry that the display says the CUDA version supported is 10.2. I was also confused , but it is just the maximum CUDA version supported by the graphics driver that is shown in nvidia-smi.

3.CuDNN
What is the use of all these libraries if we are not going to train neural nets? CuDNN provides various primitives for Deep Learning, which are later used by PyTorch/TensorFlow.
But we first need to get a developer account first to install CuDNN. Once you fill-up the signup form, you will see the screen below. Select the cuDNN version that applies to your CUDA version. For me, the CUDA version is 10.1, so I select the second one.

Once you select the appropriate CuDNN version the screen expands:

For my use case, I needed to download three files for Ubuntu 18.04:
[cuDNN Runtime Library for Ubuntu18.04  (Deb)](https://developer.nvidia.com/compute/machine-learning/cudnn/secure/7.6.5.32/Production/10.1_20191031/Ubuntu18_04-x64/libcudnn7_7.6.5.32-1%2Bcuda10.1_amd64.deb)

[cuDNN Developer Library for Ubuntu18.04  (Deb)](https://developer.nvidia.com/compute/machine-learning/cudnn/secure/7.6.5.32/Production/10.1_20191031/Ubuntu18_04-x64/libcudnn7-dev_7.6.5.32-1%2Bcuda10.1_amd64.deb)

[cuDNN Code Samples and User Guide for Ubuntu18.04  (Deb)](https://developer.nvidia.com/compute/machine-learning/cudnn/secure/7.6.5.32/Production/10.1_20191031/Ubuntu18_04-x64/libcudnn7-doc_7.6.5.32-1%2Bcuda10.1_amd64.deb)
After downloading these files, you can install using these commands. You can also see the exact commands if anything changes in the future:
# Install the runtime library:
sudo dpkg -i libcudnn7_7.6.5.32-1+cuda10.1_amd64.deb

#Install the developer library:
sudo dpkg -i libcudnn7-dev_7.6.5.32-1+cuda10.1_amd64.deb

#Install the code samples and cuDNN User Guide(Optional):
sudo dpkg -i libcudnn7-doc_7.6.5.32-1+cuda10.1_amd64.deb
4. Anaconda, Pytorch, Tensorflow, and Rapids
And finally, we reach the crux. We will install the software which we will interface with most of the times.
We need to install Python with virtual environments. I have downloaded python3 as it is the most stable version as of now, and it is time to say goodbye to Python 2.7. It was great while it lasted. And we will also install Pytorch and Tensorflow. I prefer them both for specific tasks as applicable.
You can go to the anaconda distribution page and download the package.

Once downloaded you can simply run the shell script:
sudo sh Anaconda3-2019.10-Linux-x86_64.sh
You will also need to run these commands on your shell to add some commands to your ~/.bashrc file, and update the conda distribution with the latest libraries versions.
cat >> ~/.bashrc << 'EOF'
export PATH=$HOME/anaconda3/bin:${PATH}
EOF

source .bashrc
conda upgrade -y --all
The next step is creating a new environment for your deep learning pursuits or using an existing one. I created a new Conda environment using:
conda create --name py37
Here py37 is the name we provide to this new conda environment. You can activate this conda environment using:
conda activate py37
You should now be able to see something like:
 Notice the py37 at the start of command in terminal
We can now add all our required packages to this environment using pip or conda. The latest version 1.3, as seen from the pytorch site , is not yet available for CUDA 10.2, as I already mentioned, so we are in luck with CUDA 10.1. Also, we will need to specify the version of TensorFlow as 2.1.0, as this version was built using 10.1 CUDA.
I also install RAPIDS, which is a library to get your various data science workloads to GPUs. Why use GPUs only for deep learning and not for Data processing? You can get the command to install rapids from the rapids release selector :

sudo apt install python3-pip

conda install -c rapidsai -c nvidia -c conda-forge -c defaults rapids=0.11 python=3.7 cudatoolkit=10.1

pip install torchvision
Since PyTorch installation interfered with TensorFlow, I installed TensorFlow in another environment.
conda create --name tf
conda activate tf
pip install --upgrade tensorflow
Now we can check if the TF and Pytorch installations are correctly done by using the below commands in their own environments:
# Should print True
python3 -c "import tensorflow as tf; print(tf.test.is_gpu_available())"

# should print cuda
python3 -c "import torch; print(torch.device('cuda' if torch.cuda.is_available() else 'cpu'))"
If the install is showing some errors for TensorFlow or the GPU test is failing, you might want to add these two additional lines at the end of your bashrc file and restart the terminal:
export LD_LIBRARY_PATH=$LD_LIBRARY_PATH:/usr/local/cuda/extras/CUPTI/lib64:/usr/local/cuda/lib64

export CUDA_HOME=/usr/local/cuda
You might also want to install jupyter lab or jupyter notebook. Thanks to the developers, the process is as easy as just running jupyter labor jupyter notebook in your terminal, whichever you do prefer. I personally like notebook better without all the unnecessary clutter.
Conclusion
In this post, I talked about all the software you are going to need to install in your deep learning rig without hassle.
You might still need some help and face some problems for which my best advice would be to check out the different NVIDIA and Stack Overflow forums.
So we have got our deep learning rig setup, and its time for some tests now. In the next few posts, I am going to do some benchmarking on the GPUs and will try to write more on various deep Learning libraries one can include in their workflow. So stay tuned.
Continue Learning
If you want to learn more about Deep Learning, I would like to recommend this awesome Deep Learning Specialization . You can start for free with the 7-day Free Trial. This specialization talks about various CNN architetures and covers a wide variety of problems in the image domain including detection and segmentation.
Thanks for the read. I am going to be writing more beginner-friendly posts in the future too. Follow me up at Medium or Subscribe to my blog
Also, a small disclaimer — There might be some affiliate links in this post to relevant resources, as sharing knowledge is never a bad idea.
About Me

I’m a Machine Learning Engineer based in London, where I am currently working with Roku .
Know More